Sunday, September 26, 2010

ACW2 Engagement

Defender; protect the town from evil doers, Attackers, Rob the Bank.

 So, here's the town, all nice and peaceful, a few civilians wandering about in the early morning light, going about their business. Photo to the right  shows the brown bank building behind the black and red truck. In the lower corner is an ever vigilant truck with 50 cal machine gun helping "keep the peace". Across the street from the bank in the white building is Madam's House of Comfort for Wayward Soldiers of the Revolution.  Scattered about town were various defending nationalist units on R&R.


 The bank robbers occupied the house next to the bank and sent in 20 thugs to "aquire funding for the cause".  A teller came running out of the bank screaming it was being robbed. Not clear on who was who , the nationalist troops did not open fire immediately, until 1 squad exited the back of the bank and the other came out the front.  The front came under fire from the truck mounted machine gun but they kept on running down the street. In the back, part of the robbers unit was gunned down from an Armored car, a daring do officer wielded his 2 machine pistols and blazed away, at least one of the heavy machine guns on the armored car fired at the bank, cutting down a teller...ooops.

 The police had placed a machine gun in the upstairs building seen here in the lower right of the right side picture. It opened fire on the robbers tracked truck, scoring multiple hits in its engine, setting it on fire. The remaining robbers figure to beat feet and sprinted down the road, encumbered by bags of looted cash. One of them was picked off by a well placed rifle shot, the shooter casually added another notch to the stock of his rifle.  In the mean time the front door robbers sprinted down the street past the cat house, where the alerted (by all the gun fire) nationalist forces that had been attempting to raise the moral of the local girls, rushed to the windows and opened fire on the fleeing robbers.

Here, just when the front door gang thought they were in the clear, the rest of the cathouse brigade of liberation came out the back of the building and opened fire with sub machine guns, with deadly results, all of the remaining robbers were cut down. The transport of the robbers followed down the street and over the bodies of the fallen, though they claimed that they had tried to grab the hands of the wounded to pull them into the truck...

The remaining survivors of the escape out the back group came under some terribly inaccurate rifle fire from a police unit but suffered no effects other than to hasten their efforts to get away, which they did with a considerable amount of cash.

Saturday, September 25, 2010

Wednesday, September 22, 2010

New Style Explosion

I have done many of the standard Smoke columns for explosions. Recently I saw one done on the Lead Adventure Forums by Hammers that I really liked. Copying it has proven a bit tricky but I'm giving it a shot.
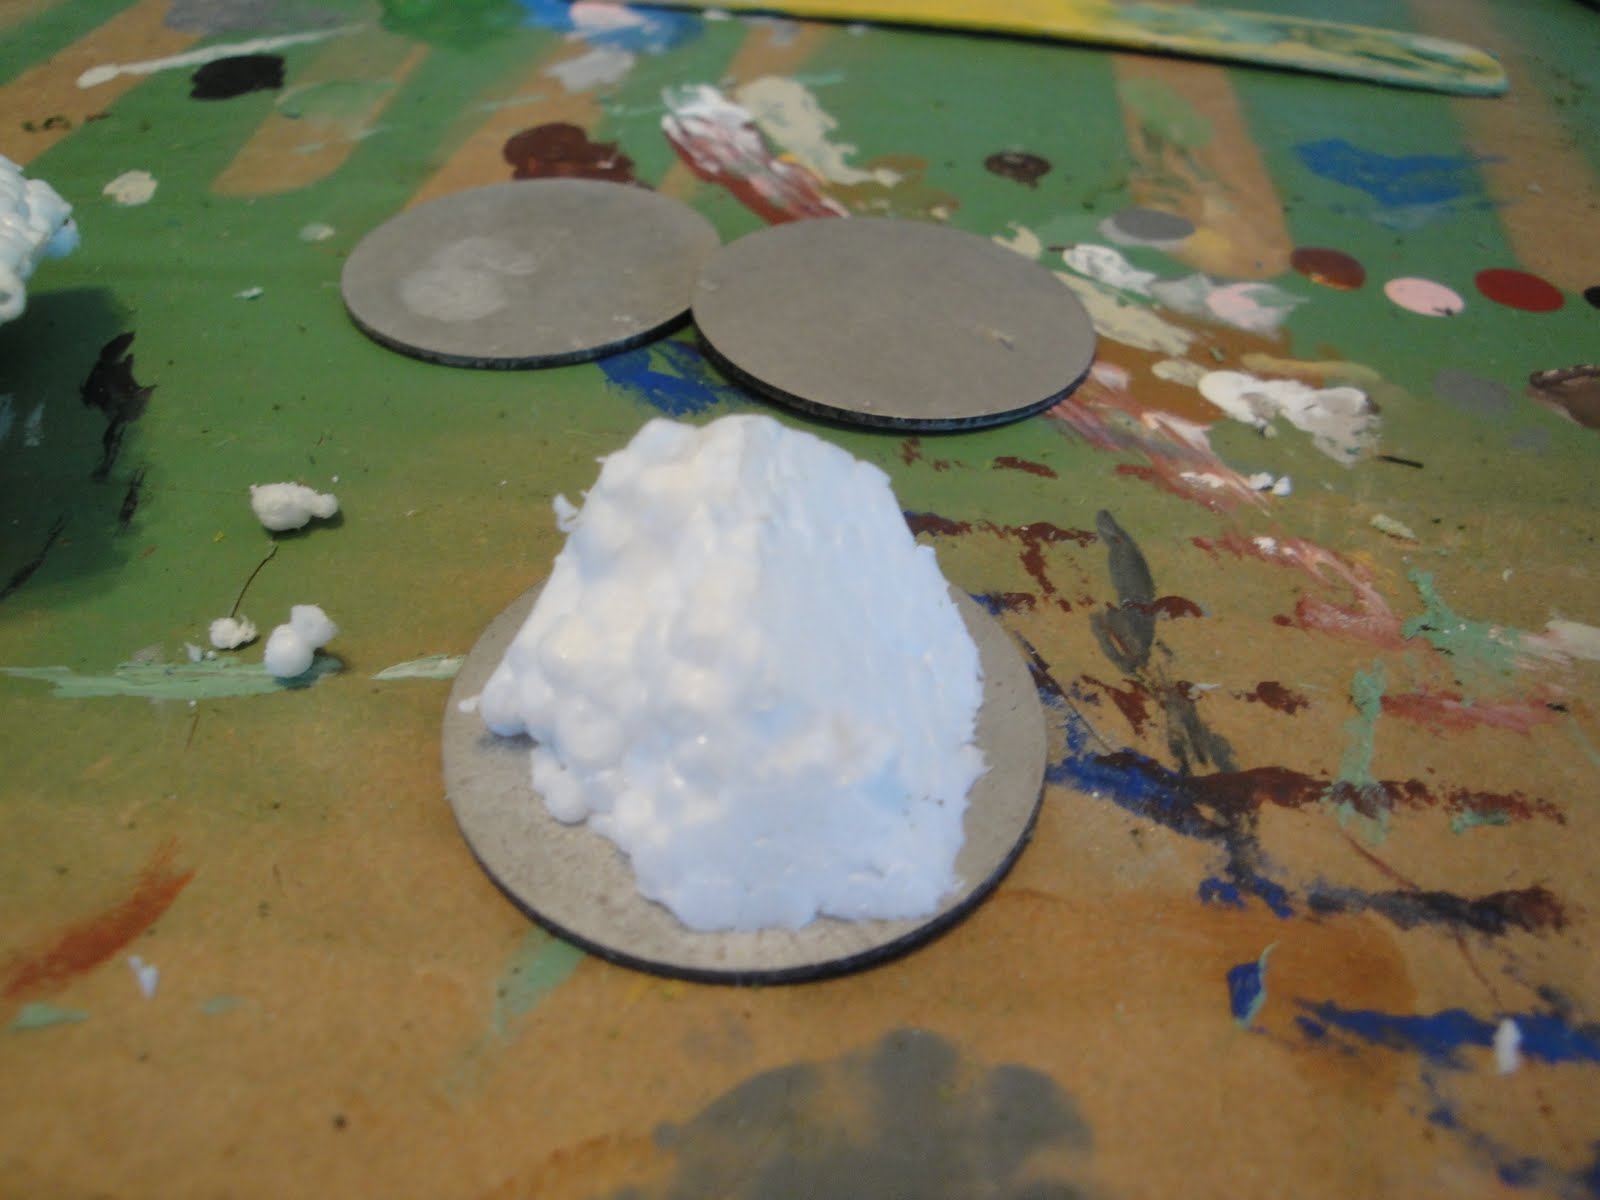
Basic materials, old aluminium disks, bamboo skewers, styrafoam, coarse chopped foilage from woodland scenics and assorted glues and hot glue gun. I tried out some spray addhesive along the way.... it was not to successful. So, Styrafoam chunk was hot glued to the disk as in the right picture.
Next, pieces of skewers were hot glued and stuck into the foam pieces. Spray on adhesives was sprayed all over it... very messy process, the the whole thing was put in a large container of the crumbled foliage. Next I used fingers to press foliage onto the rods and base area. More spray adhesive, then more pressing.... not very efficient. Coverage was hap hazard.
Next step was to take it outside, and spray on diluted pva glue and let it dry. I soaked parts of it to help the foliage stay on. When dried I sprayed it heavily with flat black spray paint, from all angles. Then fogged it with white from about a foot away. Took the black back in very close and spot shot here and there for the picture on the left. Things I learned to make it faster and easier. Cut, mount, and spray tack, or spread glue and coat the Styrofoam first. Then Cut the skewers into the lengths you want. Coat them with glue or hot glue and then press on the foliage. Let both dry.  Hot glue the skewers into the foam base. Spray with black and white to color it. You can easily go back and fill in any small spots that do not have enough. I think I will put traces of brown paint on the outer most bits of smoke, along with bits of grass color, not much, just a touch here and there to add some visual "depth" to the look of the piece.

Tuesday, September 21, 2010

Basing Problem

So, working towards my permanent bases for my Fantasy Rules! armies I hit a snag. Flocking the bases with the woodland scenics flock on prepared metal bases works fine, except... I then used a 1 inch brush to put diluted PVA glue onto the dried flock to help keep it from rubbing off on the edges.Picture on the left shows how I used the brush to pat on the diluted white glue.

After soaking the base, I set them on wax paper to dry, the waxy surface making the white glue not glue it to the surface that I set it on to dry in the first place. One of the bases that I did not get good coverage on is pictured on the right. The lighter area is the surface I want, the dark areas, the glued areas. SO, with some double work I reapplied white glue to the darker areas to get the grass to the final look I want before I add battlefield bits, rocks, grass tufts etc.

I am thinking that the reinforced glue / grass underneath with keep the metal base from showing if there is excessive wear on the edges. Then again, with the remaining base work ahead of me, I will add the diluted white glue to a narrow edge around the base instead of so thoroughly over the entire base, so as to reduce the amount of "touch up" to the base grass surface.

Saturday, September 18, 2010

Lucked out on a road trip down to San Jose and scored a stack of these doll house miniature furniture packs for  $2.19 from D&J Hobby shop.They work great with 28mm figures.
They are soft plastic so easy to cut and reassemble into other types of furniture. Here's a site that has a ton of conversions done with them:

http://www.wannainelpaso.com/smallerscale/bashing_bpf.shtml

Friday, September 17, 2010

Garden Bushes

Found an old cactus that I kept tossing around as an idea for I didnt know what, till I thought to cut the top off and then cut off rows of the "thorns" . Next I applied contact cement to the upper half of each row of thorn tops, and used scenic foilage small clumpings to press onto the glued tops, let them dry. A piece of light plastic for the base. I chose to hot glue the lines of bushes down after painting some brown on the still showing thorns material.  Attaching the lines to the base, I chose to hot glue them for quick setting as the cut pieces were not very straight and tended to have a curve near the old top of the cactus.
Bottom last shot shows a close up with a 28mm figure for scale. The green toppings of the bushes are clear of the ground for a diffrent look to the garden plot.

Thursday, September 16, 2010

More Reinforcments Arrived

Troll and Toad did a restock... order order ..... 

More monstrous creatures, I will be ascribing Blade, spear or Pike qualities to some of these, don't want to many "small monsters" all the time!
Top left, mostly sorceresly impressed creatures, Top Right some undead, Centaur cavalry and a few more monstrous creatures. Below left are my Tharks to be for Mars VSF, at 30 of them after a year of culling the Internet, about another 30 to go. Have to make Radium rifles, pistols and the like for some of them, ditch some of the shields etc.