 Here is what I use for Bushes and most all of my Trees foliage. It is easily torn into shapes that I push down on metal nails to form Trees with or bits can be shaped to brush etc. Woodland Scenics product.
Sunday, June 20, 2010
Woodland Scenics Clump Foilage
Here is what I use for Bushes and most all of my Trees foliage. It is easily torn into shapes that I push down on metal nails to form Trees with or bits can be shaped to brush etc. Woodland Scenics product.

Lava Field Encounter Placard Comple
Thought to make a single complete report on how I built the lava field board, so here goes;


Single sheet of Styrofoam cut apart to make channels, all were glued to the piece of linoleum flooring with pva. After it had dried time to get out the BBQ fire starter and singe the edges of the foam. Did that outside for ventilation and it only took abut 1 minute, care must be used or the foam piece will disappear.


Time for colors, Yellow as the base coat to all but the tops of the islands. Dark orange to the island tops. They started dry brushing with a half inch wide brush.


 And there you have it. Island hoping ahead for the adventurers as the lava oozes by. Estimated cost of the materials for this were, left over Styrofoam, less than an ounce of paint, bit of pva glue, say 50 cents for the linoleum tile, so less than a dollar for the works.
Saturday, June 19, 2010
The Chasm Project
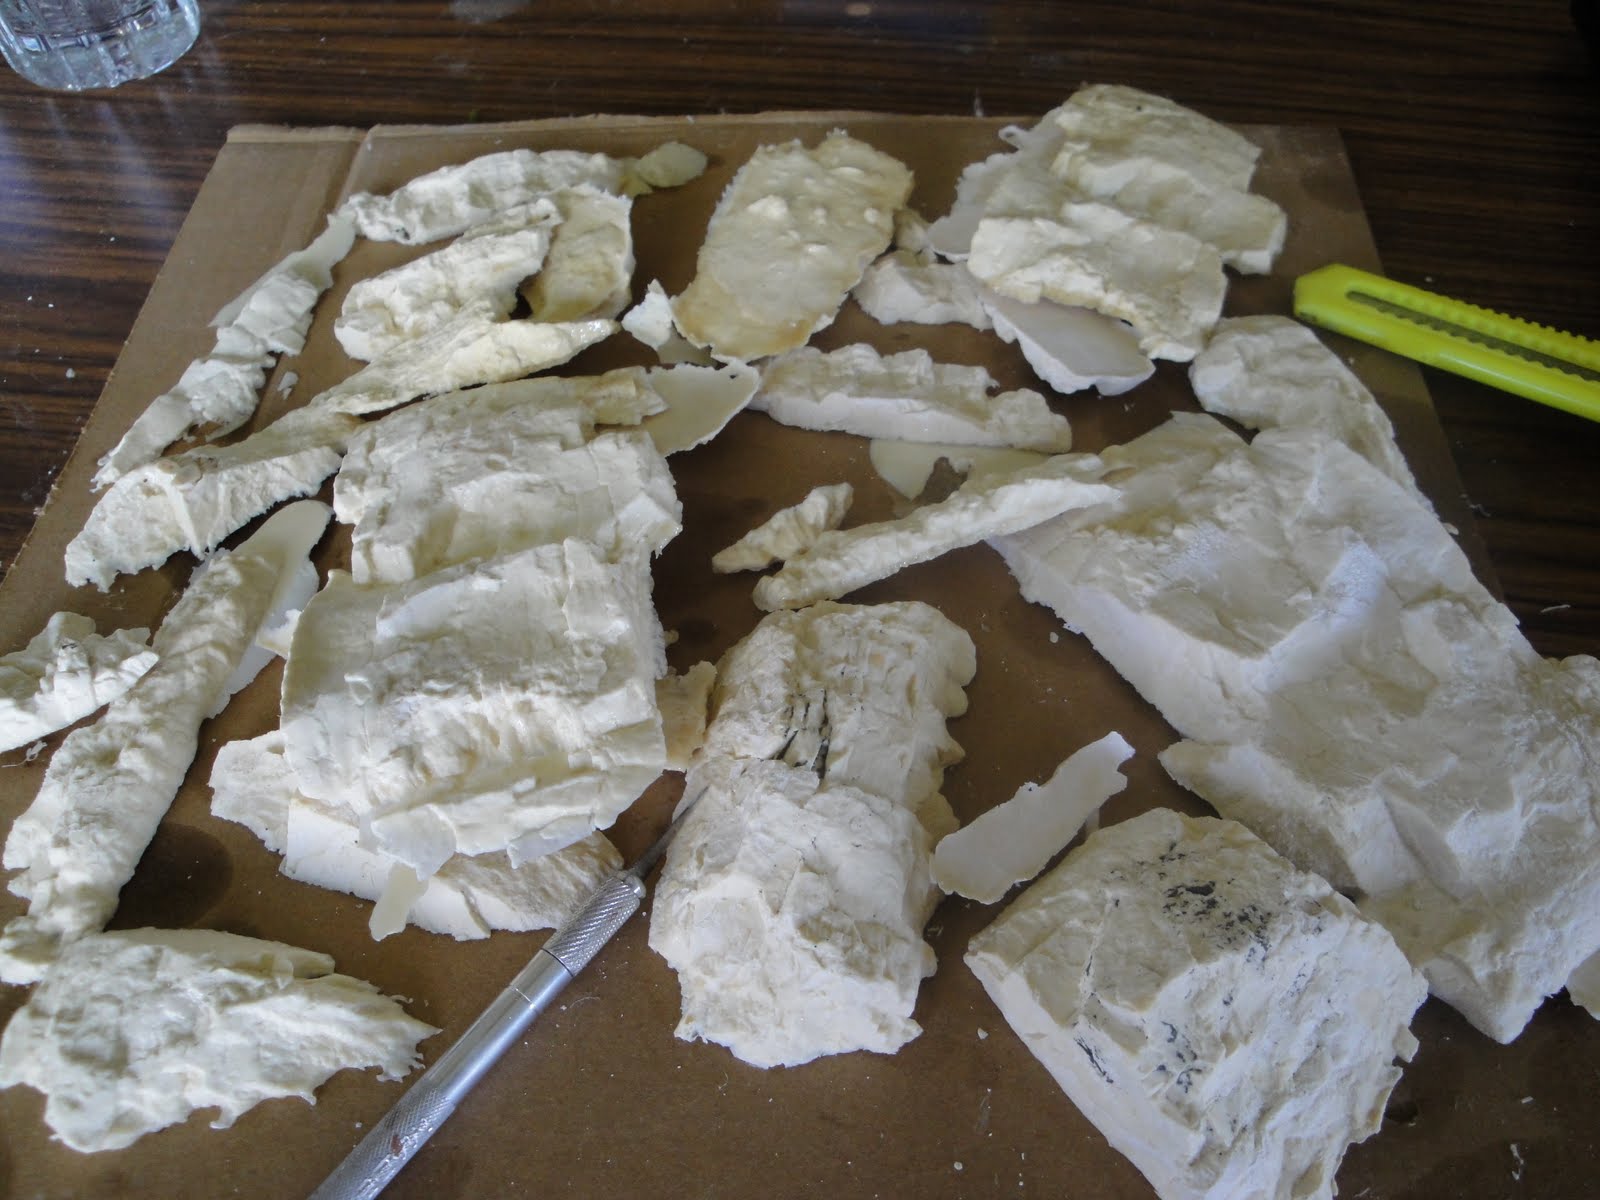


12x12 inch floor tile is the base, 3 inch thick Styrofoam,former packing material, forms the walls of the chasm so far. Figure is for scale. Hot glued and dabs of white glue secure the foam to the tile. When its dry, time will be right to start shaping and applying resin cast rock section, though I will keep the sides very steep, or it would not be much of a "chasm" heh. Could paint the bottom area with perspective that it goes deeper, but am thinking that the bottom would serve as a deep gully for desert wadi encounters... options..
Here's the upper rough in of the Cliff walls with an approach cut out on the left, the one on the right is just barely visible. Figuring on a suspended rope bridge with planking... Out of smooth Kel Seal still.. may use up the textured that I have though for this as its more of a desert / arid setting, or even mountainous.. Hmm... Place some jungle plants, on bases here and there and its location would obviously be in the jungle..!
The gap is definitely wide enough that it cannot be leaped by a mere mortal, so its good enough. Also, the actual "distance" across could be double or triple for the purpose of shooting across it by stating the gap is "representational"


In the bottom picture is one side of the Chasm showing where the "entry" way is. Just visible is an opening that at times, cover removed, will be a Cave or Temple doorway, or with a Rock plug I will have for it , it will not be there.


Roughed in the sand and gravel for the rock slides and such along the path ways. A quick coat of paint went on just prior to pick out some of the areas that needed touching up with more rock facing.


Bases coated all the rock surfaces. A bit more fill in here and there then painted that up also. Time to start the water effects. Did not want any slow moving water so broke out the Kel Seal and went to it.


After painting in a fairly smooth coat of Kel Seal, I took a stick and patted the surface, raising the edges up in a choppy water state. Had to let it dry overnight to make sure it was ready for painting. The upper right picture shows the wash which went on very wet. While still wet I applied other wash colors here and there to leave the overall effect a swirl of muddy water.
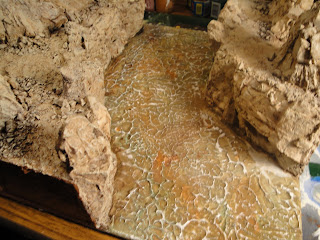

Here are a few more shots of the chasm, the picture on the right shows the rock faces shaded for their final effect.


After painting in a fairly smooth coat of Kel Seal, I took a stick and patted the surface, raising the edges up in a choppy water state. Had to let it dry overnight to make sure it was ready for painting. The upper right picture shows the wash which went on very wet. While still wet I applied other wash colors here and there to leave the overall effect a swirl of muddy water.


Here are a few more shots of the chasm, the picture on the right shows the rock faces shaded for their final effect.
Kel Seal
Kel Seal Elastomeric Custom Patch. This is similar to caulking from a tube but in a tube that you can used a spoon or putty knife to dig out and spread. It comes in Textured with plastic sand mixed in or smooth. It also comes in brushable and trowable. I use the Trowable as it is a bit stiffer to work with and does not penetrate surfaces as fast as the brushable, giving me a bit more time to move it around. The textured gives a nice arid ground base for fast painting and dry brushing.

It comes in quarts and gallon containers, this brand I purchase from Kelly Moore Paint Stores. Other stores have their own brand name items that do the same thing, just tell them your looking for caulking in a tub to brush or trowel on and they will take you to their version I am sure.
Thursday, June 17, 2010
Painting Table, More Units Recruited!
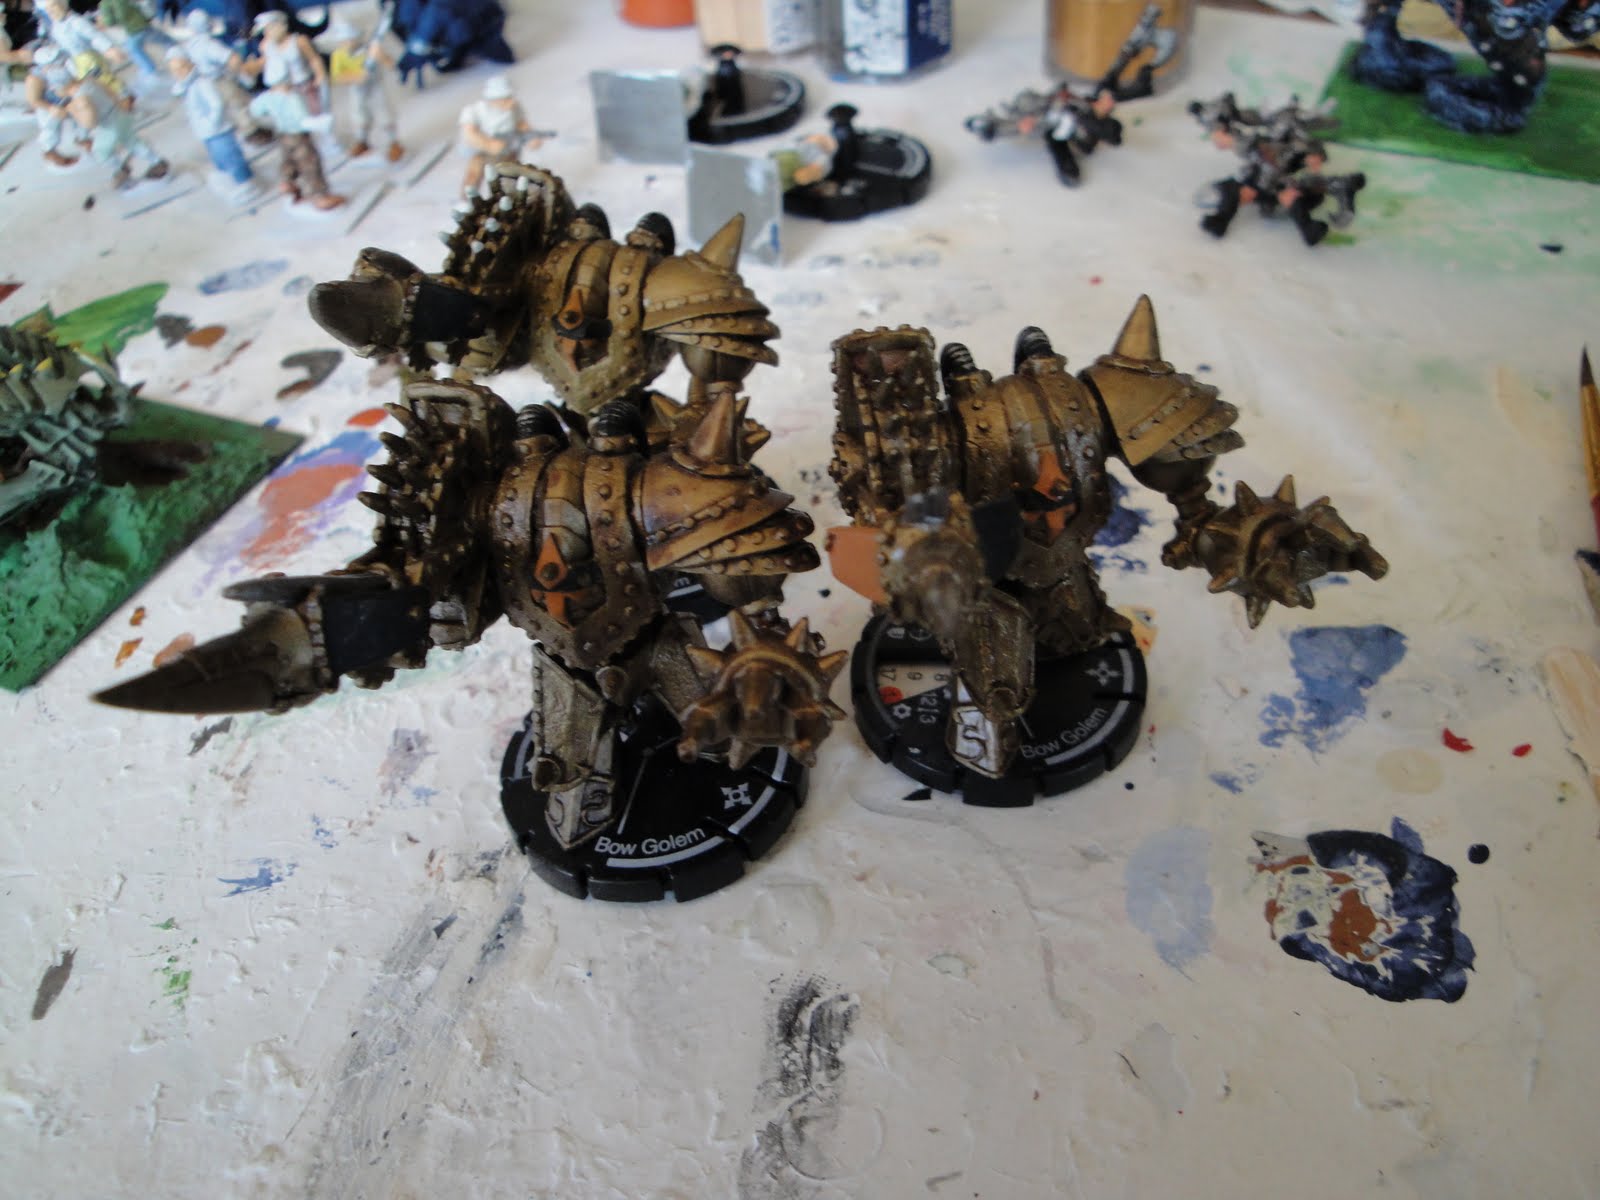
 Elite Flying Knights mounted up now, new Large monster burrower underway, a slasher this time. Couple of nasty large wyrms in the below left picture, to be classed as Small Monsters. Then the 3 Golems that will probably be converted into some of Kaptain Kneemo's mechanical forces. Think I will replace the crossbow / bayonet with some sort of small cannon.
Tuesday, June 15, 2010
FR! finished Units
Bases completed we add to the forces of badness with:

 Left most is a unit of animated forest as small monsters, nasty worms next as small monsters, perhaps they get poisonous effect, can you have to many fanatics as the whip wielding furry bear guys are? Evil, possibly elite hand weapons in their black robes. Lastly, some dragonkin fanatics, just have to be when they have solid metal masks over their eyes and chunks of metal bars for weapons.


Saturday, June 12, 2010
Detail Work on Burrower
Worked up more breaking earth and painted the carapace:
 So here's the rear view, darkened the earth, built it a little further up and applied a bit more grass, and to the clods of dirt on the creatures back. Still a bit of touching up to do yet.
 So here is a more frontal shot to show the clods of dirt a bit better. And there you have it.

 So here is a more frontal shot to show the clods of dirt a bit better. And there you have it.
Subscribe to:
Posts (Atom)


