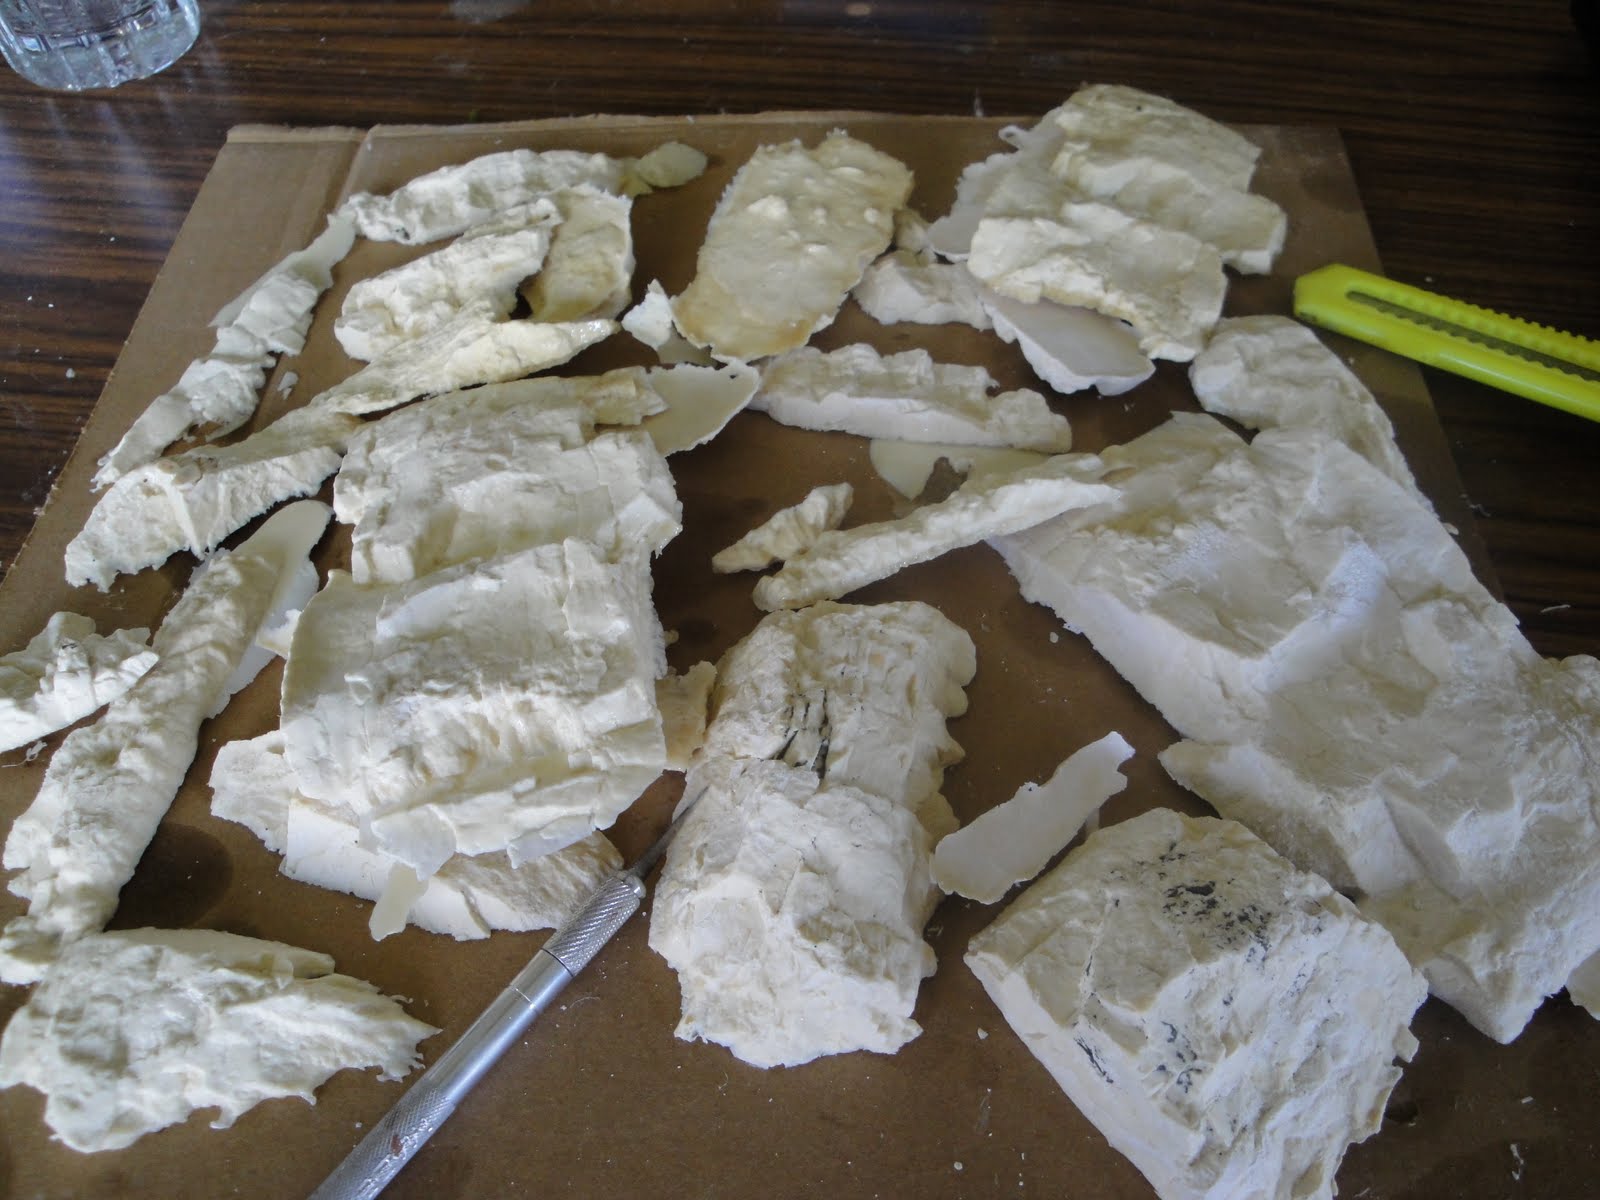


12x12 inch floor tile is the base, 3 inch thick Styrofoam,former packing material, forms the walls of the chasm so far. Figure is for scale. Hot glued and dabs of white glue secure the foam to the tile. When its dry, time will be right to start shaping and applying resin cast rock section, though I will keep the sides very steep, or it would not be much of a "chasm" heh. Could paint the bottom area with perspective that it goes deeper, but am thinking that the bottom would serve as a deep gully for desert wadi encounters... options..
Here's the upper rough in of the Cliff walls with an approach cut out on the left, the one on the right is just barely visible. Figuring on a suspended rope bridge with planking... Out of smooth Kel Seal still.. may use up the textured that I have though for this as its more of a desert / arid setting, or even mountainous.. Hmm... Place some jungle plants, on bases here and there and its location would obviously be in the jungle..!
The gap is definitely wide enough that it cannot be leaped by a mere mortal, so its good enough. Also, the actual "distance" across could be double or triple for the purpose of shooting across it by stating the gap is "representational"


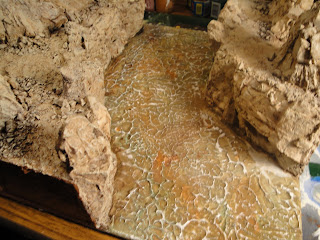
In the bottom picture is one side of the Chasm showing where the "entry" way is. Just visible is an opening that at times, cover removed, will be a Cave or Temple doorway, or with a Rock plug I will have for it , it will not be there.


Roughed in the sand and gravel for the rock slides and such along the path ways. A quick coat of paint went on just prior to pick out some of the areas that needed touching up with more rock facing.


Bases coated all the rock surfaces. A bit more fill in here and there then painted that up also. Time to start the water effects. Did not want any slow moving water so broke out the Kel Seal and went to it.


After painting in a fairly smooth coat of Kel Seal, I took a stick and patted the surface, raising the edges up in a choppy water state. Had to let it dry overnight to make sure it was ready for painting. The upper right picture shows the wash which went on very wet. While still wet I applied other wash colors here and there to leave the overall effect a swirl of muddy water.

Here are a few more shots of the chasm, the picture on the right shows the rock faces shaded for their final effect.


After painting in a fairly smooth coat of Kel Seal, I took a stick and patted the surface, raising the edges up in a choppy water state. Had to let it dry overnight to make sure it was ready for painting. The upper right picture shows the wash which went on very wet. While still wet I applied other wash colors here and there to leave the overall effect a swirl of muddy water.


Here are a few more shots of the chasm, the picture on the right shows the rock faces shaded for their final effect.


Nice work, looks very cool - be its fun to play on.
ReplyDeleteA great piece of terrain.
ReplyDeleteI also use the Woodland Scenics Rock Face Moulds, they are some of the very best available.
Keep up the great work.
Tony
http://dampfpanzerwagon.blogspot.com/
PS.
You have some Very, Very Old Citadel Paints and inks there!
supurb job on that, and lovely stone work and the river colour is excellent. I use cork as I find it lighter and I have a cork tree nearby helps!
ReplyDeletecheers
Matt
I love this piece of terrain. I have a Mark IV that would work perfectly for a pulp game of Indiana Jones. :)
ReplyDelete